-
-
-
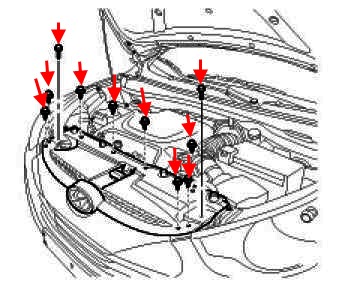
Front bumper
-under the hood take out the caps and Unscrew the screws that attach the top part of the bumper.
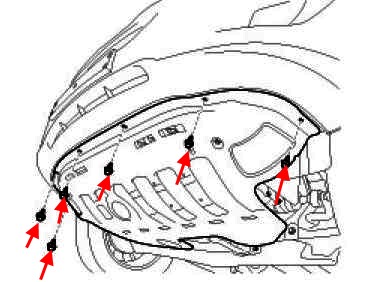
-take out the six clips around the perimeter at the bottom.
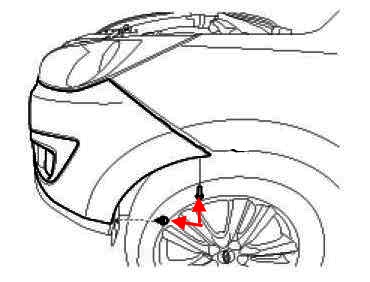
-wheel arches take out the rivets and removed the fender liner.
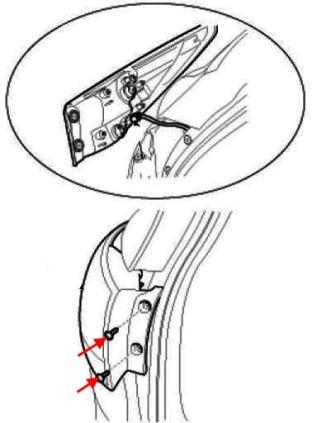
-for wheel arch liners Unscrew one screw on each side (spun upwards) holding the corners of the bumper to the wings.
-assistant free the bumper from the clips in the wings and pulls gently on yourself.
-remove connectors from electrical equipment.
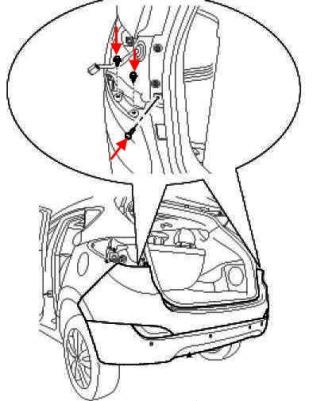
Rear bumper
-open the trunk lid.
-in the opening of the trunk Unscrew two screws on each side and remove the tail lights.
-take out two pistons on each side under the rear lights (inserted from the bottom up) and Unscrew the screws in the opening of the trunk.
-take out the caps at the bottom.
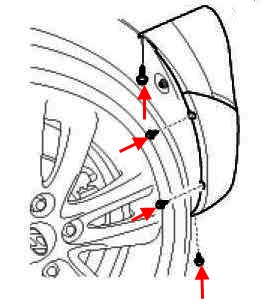
-in the wheel wells, Unscrew the screws and peel the fender liner.
-the fender liner, Unscrew the screws (spun upwards) holding the corners of the bumper to the wings
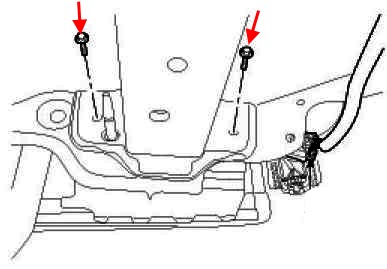
- Unscrew the screws that secure the amplifier bumper to the body.
-with the assistant release the latch in the wings, and gently pulls the bumper itself.
-remove connector from the PDC (if any).

 English
  Italiano
  Français
  русский
  Deutsch
  Español