-
-
-
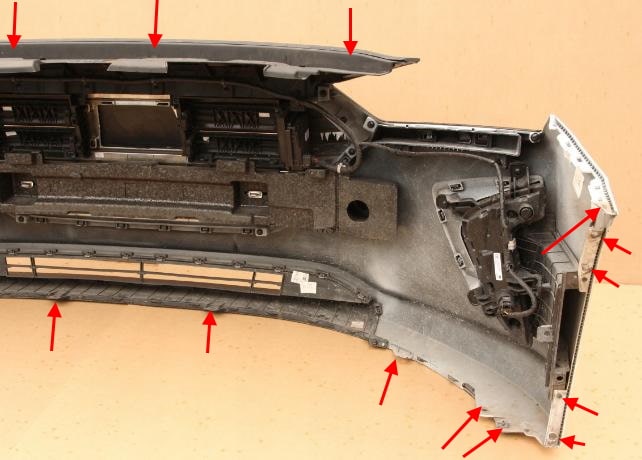
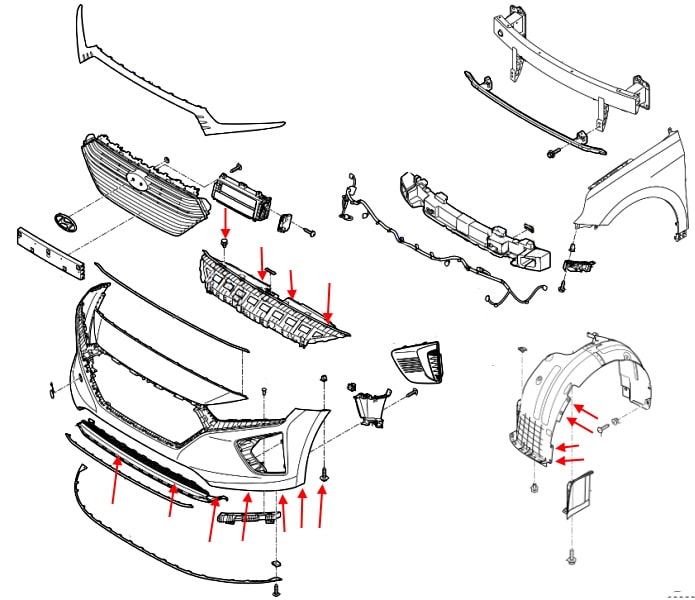
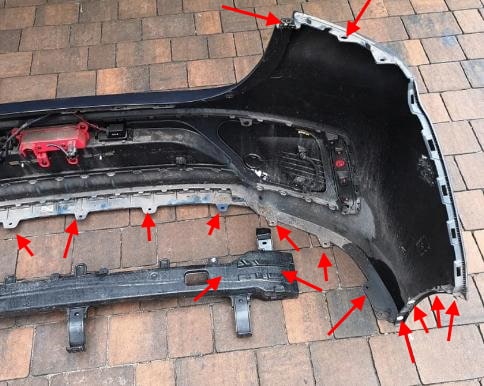
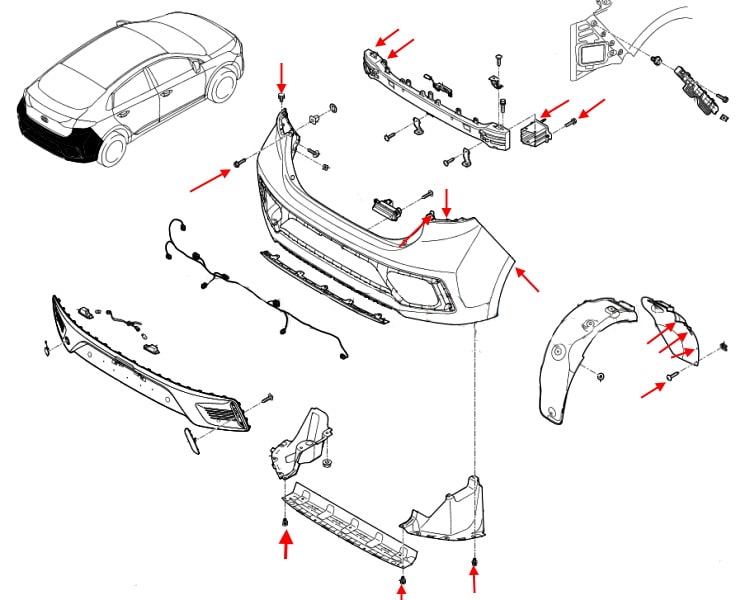
Front bumper
-open the hood.
-under the hood, take out the four pistons (inserted from top to bottom) that secure the top of the bumper.
-take out the caps (inserted from bottom to top) along the perimeter of the lower part of the bumper.
-wheel the wheels to the side.
-in the wheel arches, take out four pistons on each side that secure the wheel arch liners (front part).
-Unscrew one screw on each side (twisted from bottom to top) that secure the corners of the bumper to the fenders.
-release the latches in the wings (pull the corners of the bumper towards you).
-with an assistant, we pull the bumper forward (look behind the wires).
-we disconnect the connectors of the electrical equipment.
Rear bumper
-open the trunk lid.
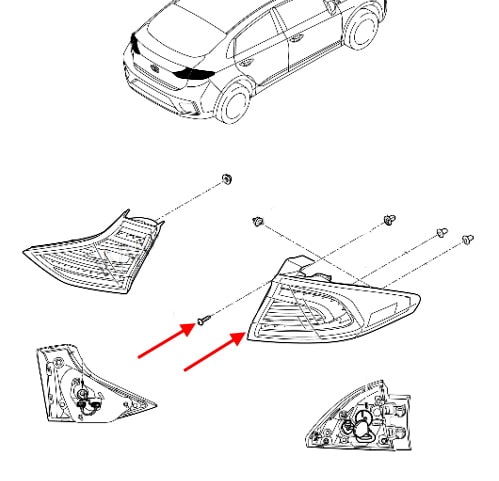
-in the opening of the trunk, unscrew two screws on each side and remove the taillights (they are held by the latches).
-under the rear lights, unscrew one screw on each side and take out the caps.
-from the bottom, take out the rivets that secure the bottom of the bumper.
-in the wheel arches, Unscrew the screws that secure the wheel arch liners.
-Unscrew the screws that secure the sides of the bumper to the fenders.
-from the bottom side, unscrew the bolts (rear side of the bumper) that attach the metal amplifier to the body.
-release the latches in the wings (pull the corners towards you).
-with an assistant, we pull the bumper back (look behind the wires).
-we disconnect the connectors of the electrical equipment.

 English
  Italiano
  Français
  русский
  Deutsch
  Español