-
-
-
Mitsubishi L200/Triton IV (2006-2015)
Depending on the model year and body type of attachment are different.
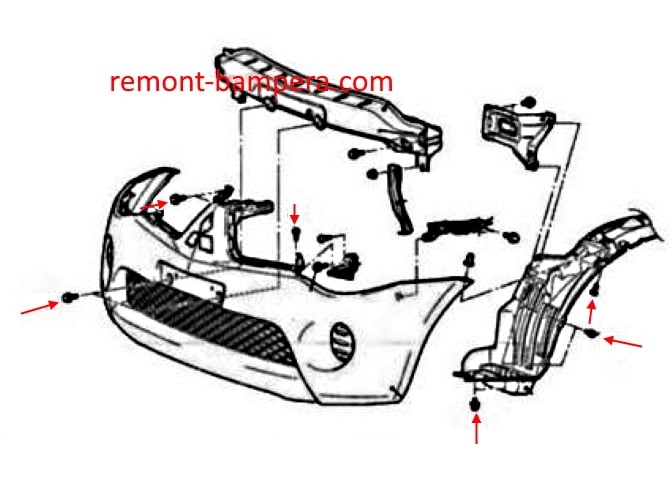
Front bumper
-open the hood.
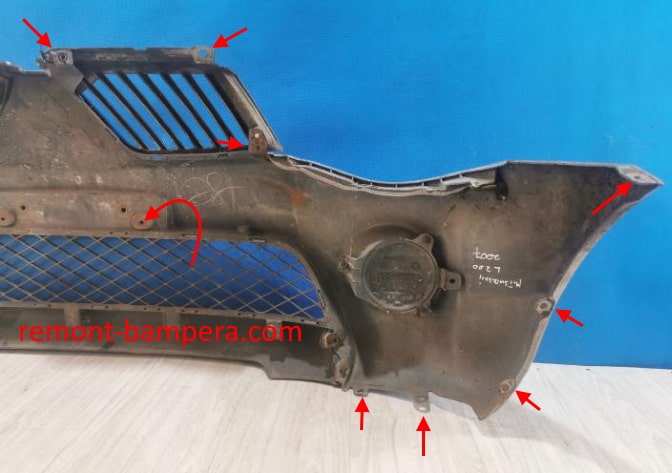
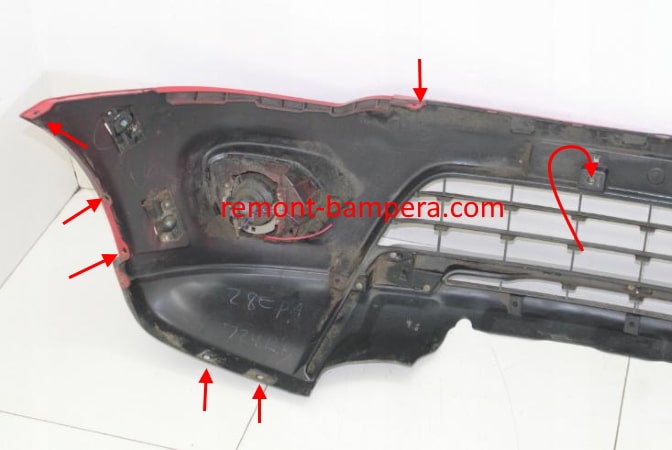
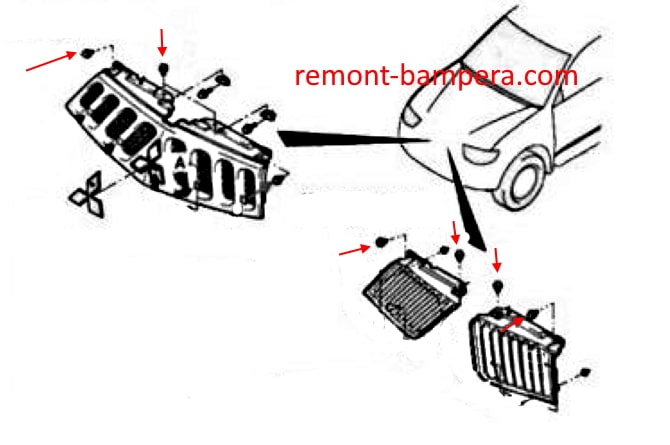
-under the hood, take out the clips and remove the grille (held by the latches).
-under the grille, take out the clips that secure the upper part.
-remove the arch trims (hold on clips).
-wrenched the wheel to the side.
-wheel arches take out the caps and Unscrew the screws holding the wheel arches and bumper corners to the wings.
-perimeter unscrew the screws that attach the lower part (can be caps).
-unscrew the two screws behind the license plate.
-the left side, unscrew the screw that secures the washer reservoir.
-we release the latch in the wings (pull the corners themselves), and gently with the assistant pulls the bumper forward.
-if you have headlight washers, disconnected the hoses (may leak fluid).
-remove the connectors from the equipment (if any).
Rear bumper
-from the bottom side, disconnect the electrical equipment connectors (if any).
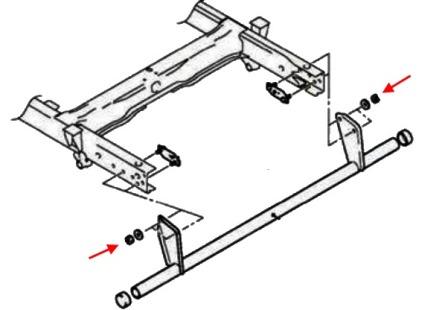
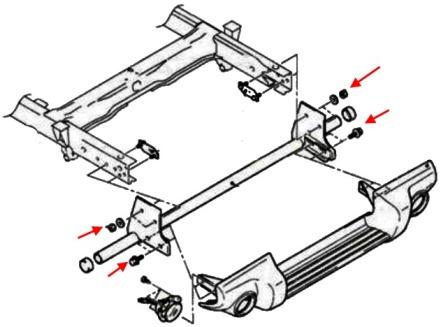
-under the car, unscrew the four bolts (nuts) that secure the amplifier brackets to the spars (you need a strong wrench with a head).
-then with an assistant pull the bumper back.

 English
  Italiano
  Français
  русский
  Deutsch
  Español