How to remove the front and rear bumper Kia Stonic
Kia Stonic I (2017+)
Depending on the year of manufacture, the attachment points may vary slightly.
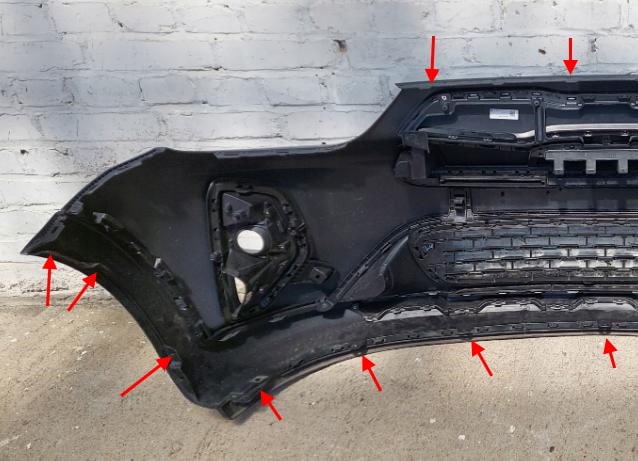
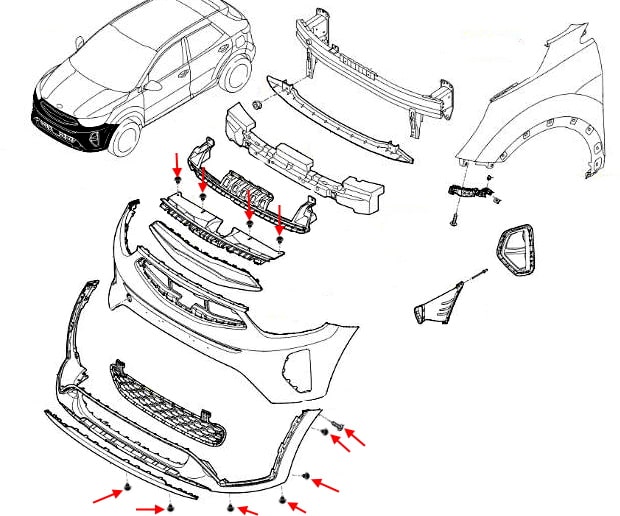
Front bumper
-open the hood.
-under the hood take out the four clips (inserted from top to bottom) that secure the upper part of the bumper.
-from the bottom we take out seven caps (inserted from the bottom up) that secure the protection.
-turn the wheels to the side.
-in the wheel arches we take out two pistons on each side that attach the fender liner (front) and one bolt that attaches the corners of the bumper to the wings.
-we release the latch in the wings (pull the corners of the bumper towards you).
-with an assistant, pull the bumper forward (look for the wires).
The bumper is removed together with the metal amplifier.
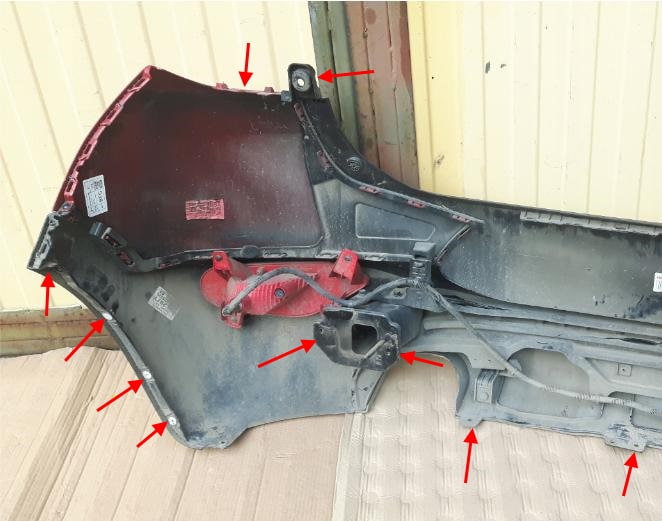
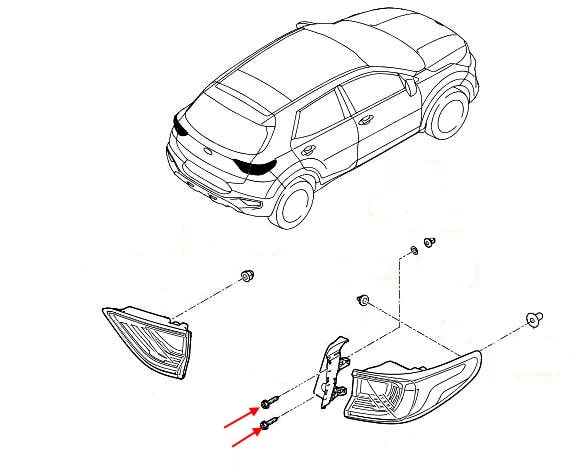
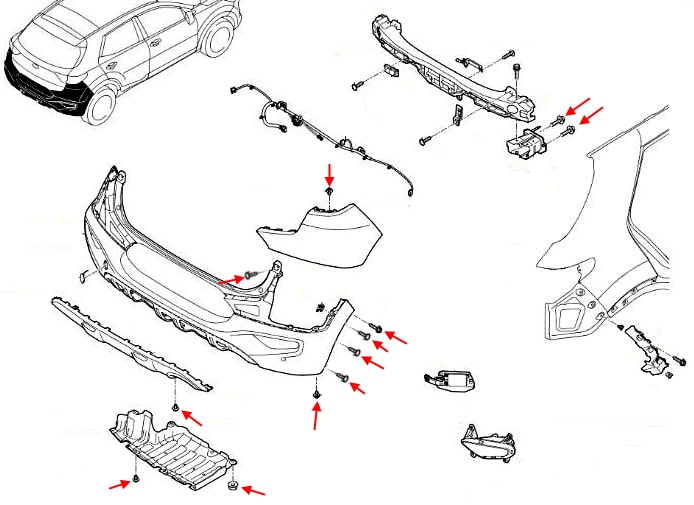
-open the trunk lid.
-unscrew two screws on each side, remove the rear lights (hold on the latches, pull towards you).
-under the rear lights release the fasteners.
-in the wheel wells, Unscrew three screws on each side that secure the fender liner (rear) and one screw that attach the corners of the bumper to the wings.
-from the bottom take out the caps (inserted from the bottom up).
-from the back of the bumper, Unscrew two screws on each side that secure the metal reinforcement to the body.
-we release the latch in the wings (pull the corners of the bumper towards you).
-with an assistant, pull the bumper back (look for the wires).

 English
  Italiano
  Français
  русский
  Deutsch
  Español