How to remove front and rear bumper Mercedes CLC-Class CL203
Depending on the year and configuration of the attachment locations are different.
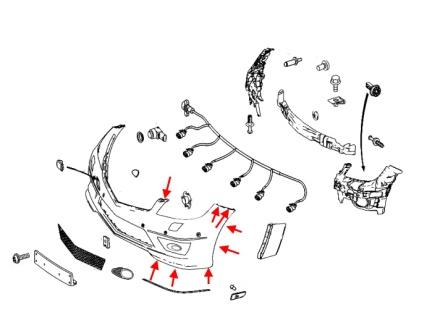
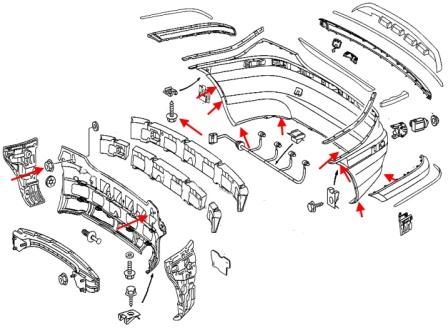
Front bumper
-open the hood.
-under the hood, Unscrew the screws (spun down) that secure the upper part.
-Unscrew the screws around the perimeter of the bottom (spun up).
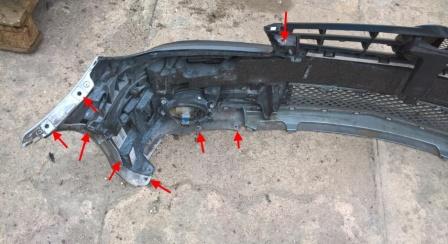
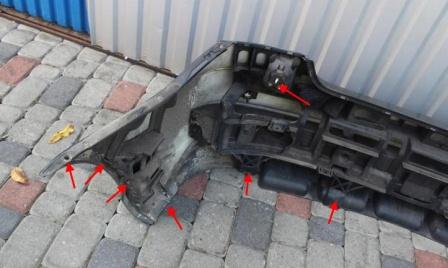
-wrenched the wheel to the side.
-wheel arches take out the caps and removed the wheel arches (the front part).
-for wheel arch liners Unscrew two (one) screw from each side (spun upwards) holding the corners of the bumper to the wings, if there is remove the clips (pull to the engine and yourself).
-with the assistant pulls the bumper forward (look for wires).
-release the connectors for the fog lamps and Parking sensors the temperature sensor (if any).

 English
  Italiano
  Français
  русский
  Deutsch
  Español