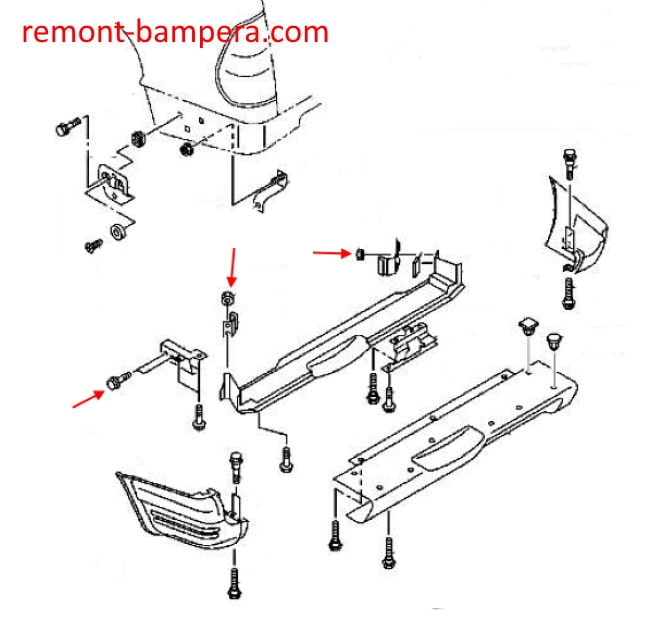
Depending on the year of manufacture, the attachment points may differ.
Front bumper
-open the hood.
-under the hood, unscrew the screws and remove the grille (held by latches).
-under the grille take out the caps that secure the bumper to the amplifier.
-take out the caps in the bumper grille (inserted from the bottom up)
-from the bottom, unscrew the bolts (spun up).
-unscrew the screws in the wheel arches (if any).
-with an assistant, release from the latches and pull the bumper forward from the guides in the wings (look for the wires).
-disconnect electrical connectors (if any).
If you need to remove the bumper together with the metal amplifier, you need to unscrew the bots and nuts securing the amplifier to the body (from the side of the engine compartment).

 English
  Italiano
  Français
  русский
  Deutsch
  Español